Sometimes you have a few skilled people building your designs. Sometimes, you have a lot of unskilled labor instead. Design choices can play to your strengths and get the most out of the shop and the crew that you have.
In 2001, I worked on a production called Ananse the Spiderman and the Golden Box of Stories. SPOILER: The title character has absolutely nothing to do with Marvel Comics or The Avengers. Ananse the Spiderman is an African folk hero, especially in the regions surrounding Ghana. The script was written by Dr. Trish Lindberg.

The set design for this production contains a lot of solutions that might be of interest to theatre educators.
Making sure families can see the kids
For this company, it was always desirable for the set to display the cast as clearly as possible. There could easily be eighty children on stage at many points in the show. Making sure everyone was visible to their families in the audience was a priority.
This particular company was a theatre camp that produced in the summer time. The venue is normally a high school auditorium. Their production values were high, but a great many children were included in the build and running crew as a part of their theatre camp experience.
Designing is always finding the best solution to a problem for a given set of circumstances. The budget allowed a few things to be bought, but we would not be building any new platforms or stairs. We had no skilled painters other than myself, but we had enthusiastic school children.
Designing for lots of unskilled labor
The set was designed to capitalize on the stock platforms with simple construction. It was also designed to rely on simple painting techniques that could be taught to many students and then done repetitively.

The big flat area up-stage-left was hidden behind a black scrim framed with hanging vines and leaves. This was “the kingdom of the sky people,” and appeared and disappeared at need.
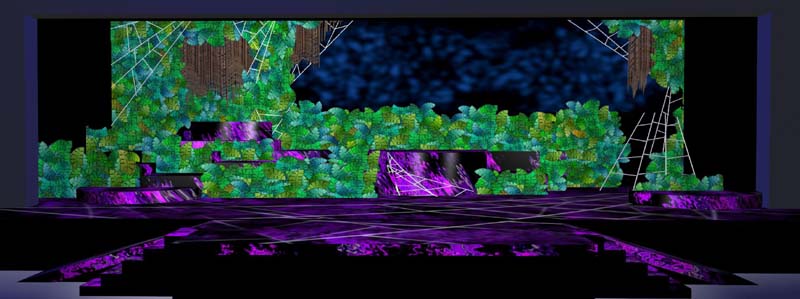
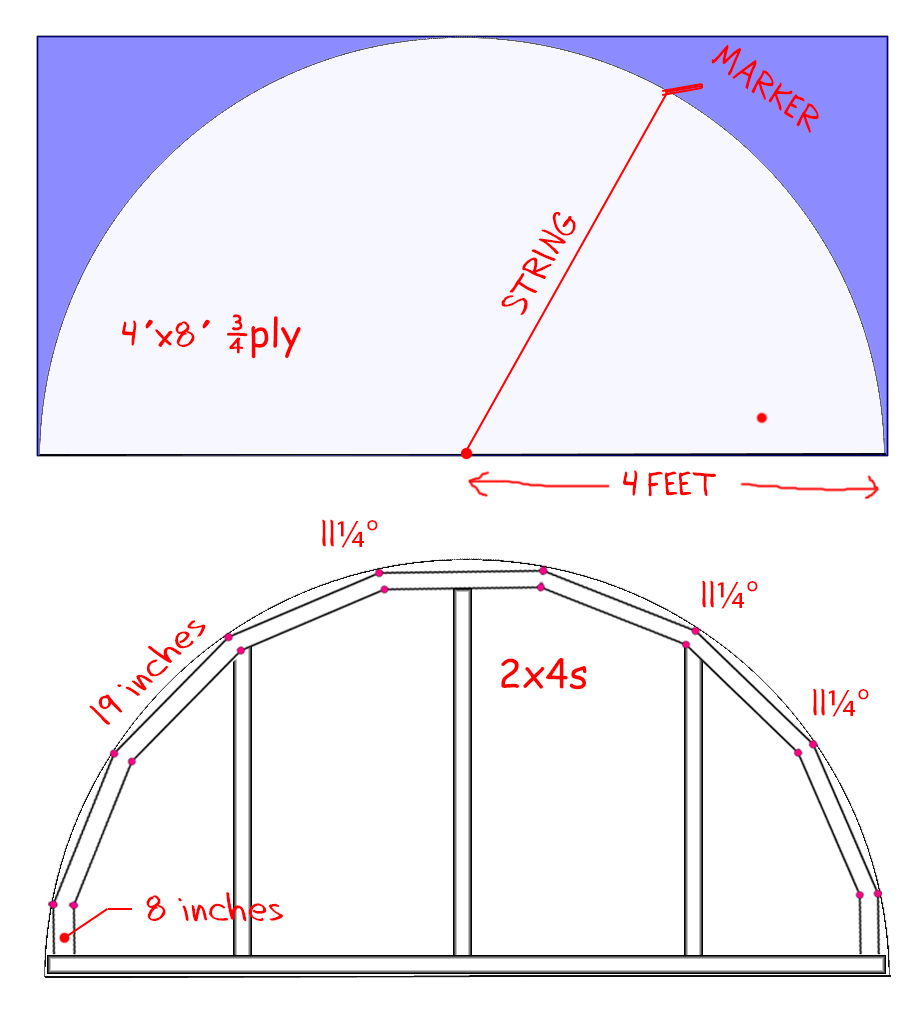
Half-circle platforms
We had a good stock of 4′ x 8′ platforms. We also had four half-circle platforms that we had built for a previous show. These were a great inclusion in the design. They make nice places for specific moments to happen. When they are faced with curved hardboard and painted, they look dynamic without a lot of effort.

Down-stage-left, there was a half-circle platform with a bush attached to the back. It served as a little mini-stage, and the bush provided a place for characters to hide from other characters.


Most of what we bought for this set was luan for the bushes, a roll of erosion cloth, paint, and the black scrim. By building the levels up, we only needed the scrim to be about eight feet tall. We ordered a roll of scrim eight feet wide by I think thirty feet.

Paint technique for marble: rag-tossing
Finally, that crazy pink and black marble was a lot of fun to paint. It was not a long paint-call, but it was popular. We based the entire stage in black. We then used a deep magenta paint and applied it using a technique called rag-tossing. Rag-tossing means that you take long strips of muslin and tie them together into sort of a big web, maybe four feet wide and tall. You dunk it in paint, and then carefully swing it around and let it drop or smack into the floor or facings. It leaves big, streaky, jagged lines. With a little deliberate practice and technique, it can produce amazing and quick marble textures.