Help & FAQ
This lab creates a storyboard. It allows you to choose key moments in a scene and show how they could be staged. Set up your playing space. Arrange the set props. Maybe give the actors names and sizes. Now go through a scene, moment by moment, and stage it. Record these moments.
In a classroom environment, you can use this any way that you like. It allows students to plan out scenes when they might not have full access to an acting studio. It can allow larger directing classes to be scheduled, with less scheduling load on the rehearsal spaces. It also allows directing projects with distance learning.
I tested this and discussed it thoroughly with other theatre educators. We had some specific course applications in mind. I am very interested in seeing what other people come up with as this gets more and more use.
- Simple moment-by-moment staging for short plays and one-acts.
- Have each student set up multiple versions of staging for single moments to compare them.
- Assign the same scene to every student in a course section and have them stage it. Hold a class discussion comparing the benefits of each interpretation.
- Stage an entire scene with this tool. Play it back one moment at a time using Zoom screen-sharing. Have actors read the lines as the staging is played out in the Directing Lab.
- Do #4, but rehearse the scenes ahead of time. Get the actors familiar with what the blocking will be within the lab. This allows something very close to classroom directing scenes. We get to hear the actors as they have been directed for the scene, and we get a good facsimile of the blocking in the space.
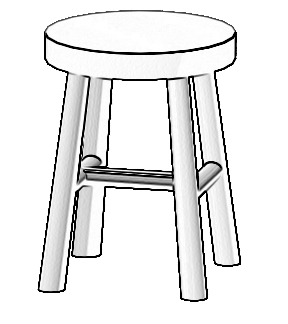
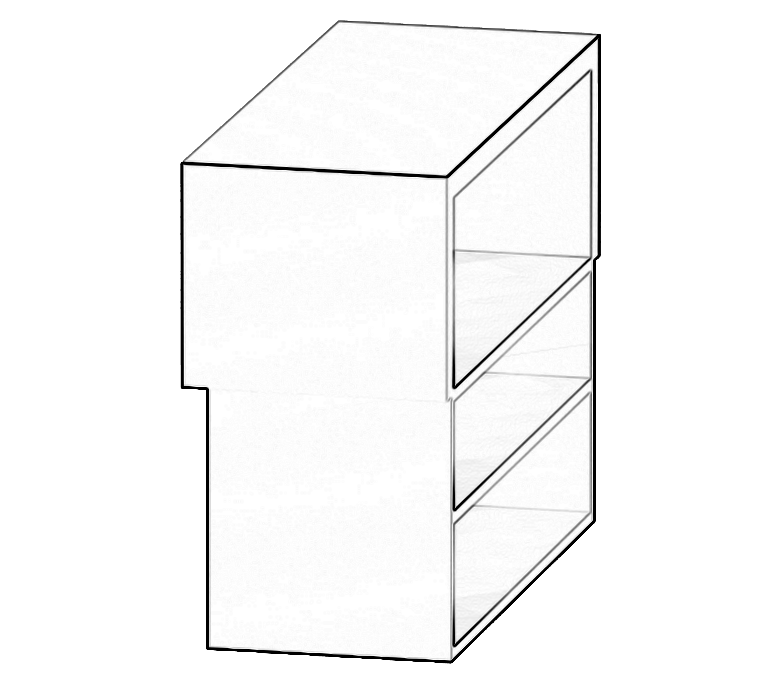
There are fourteen different types of set prop. The inventory is intended to imitate a well-stocked directing classroom.
Click "Set Props" at the top-right of this screen. You will see a list of items. You will see how many are currently onstage and how many are available offstage. Click the item name to move one of them into the space. Drag any item around in the space with the mouse.
Right-click, or double-click, or Control-Click (on Mac) on any prop to adjust it on the stage.
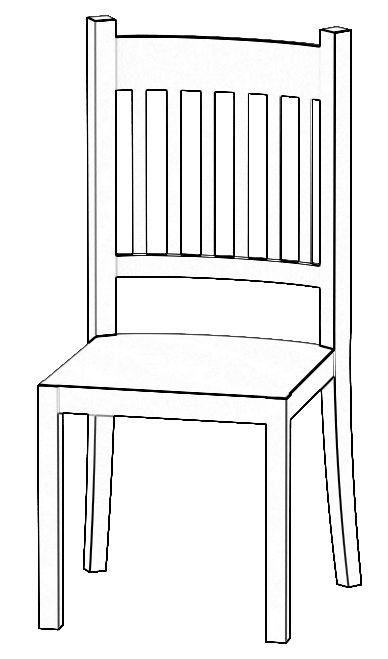
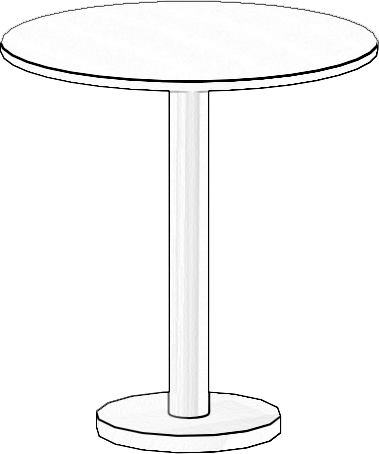
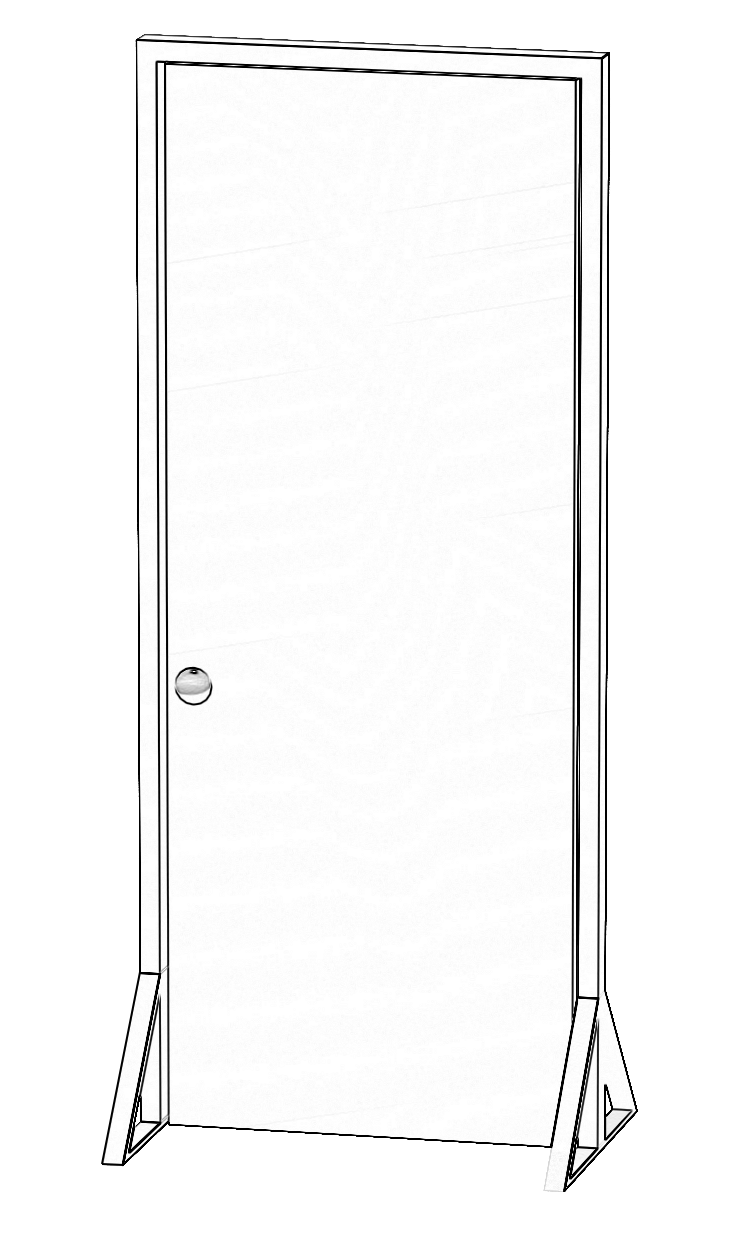
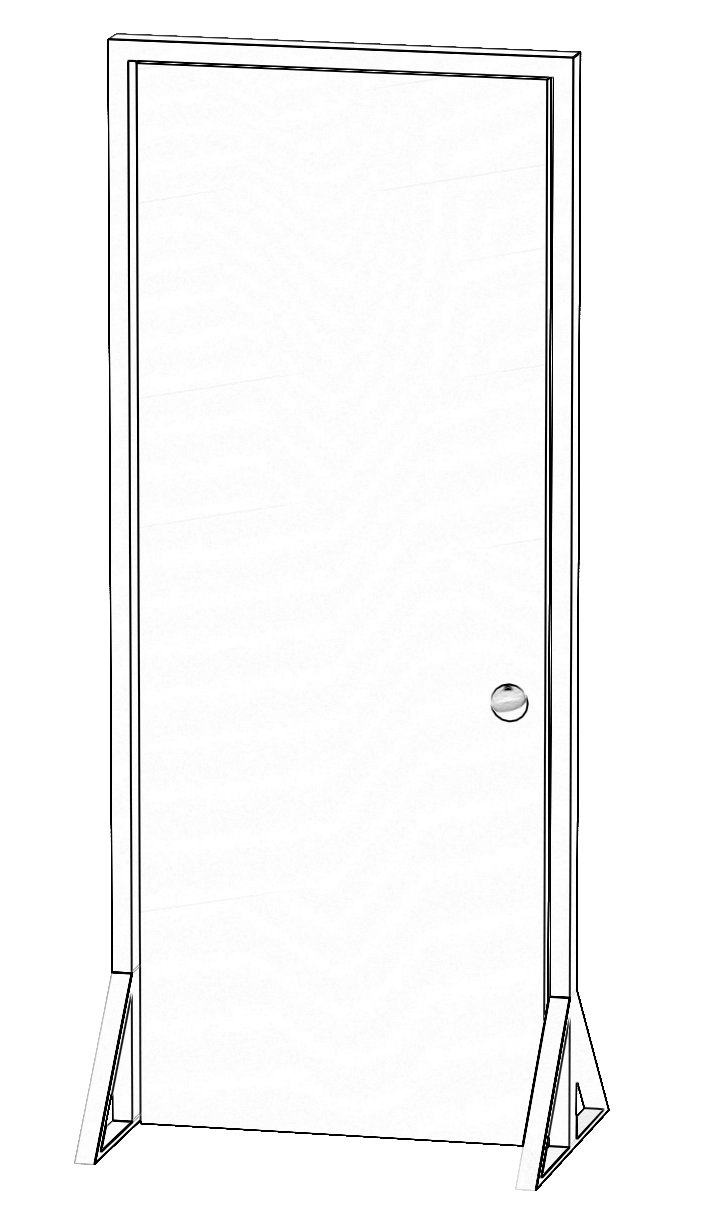
![]() Most items can be rotated. Some items have other adjustments. Doors can be open or closed. Chairs can be knocked over.
Most items can be rotated. Some items have other adjustments. Doors can be open or closed. Chairs can be knocked over.
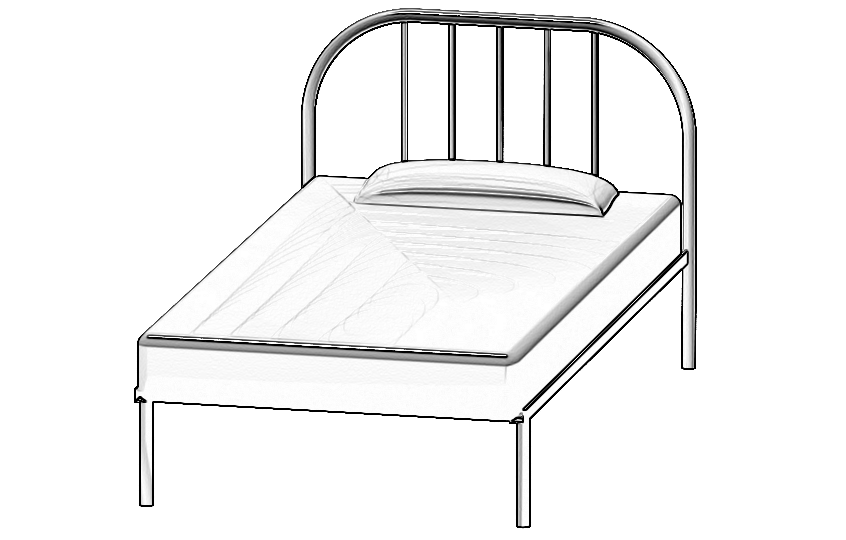
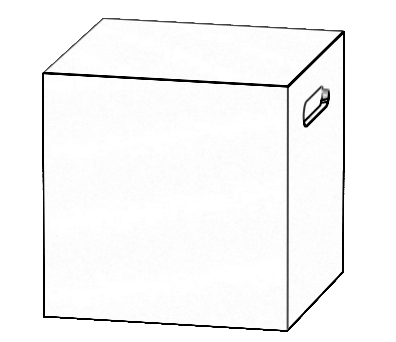
![]() When you are adjusting a set prop, you will see a trash-can icon overlapping it. Clicking this will remove the item from the stage and put it back into the offstage inventory.
When you are adjusting a set prop, you will see a trash-can icon overlapping it. Clicking this will remove the item from the stage and put it back into the offstage inventory.
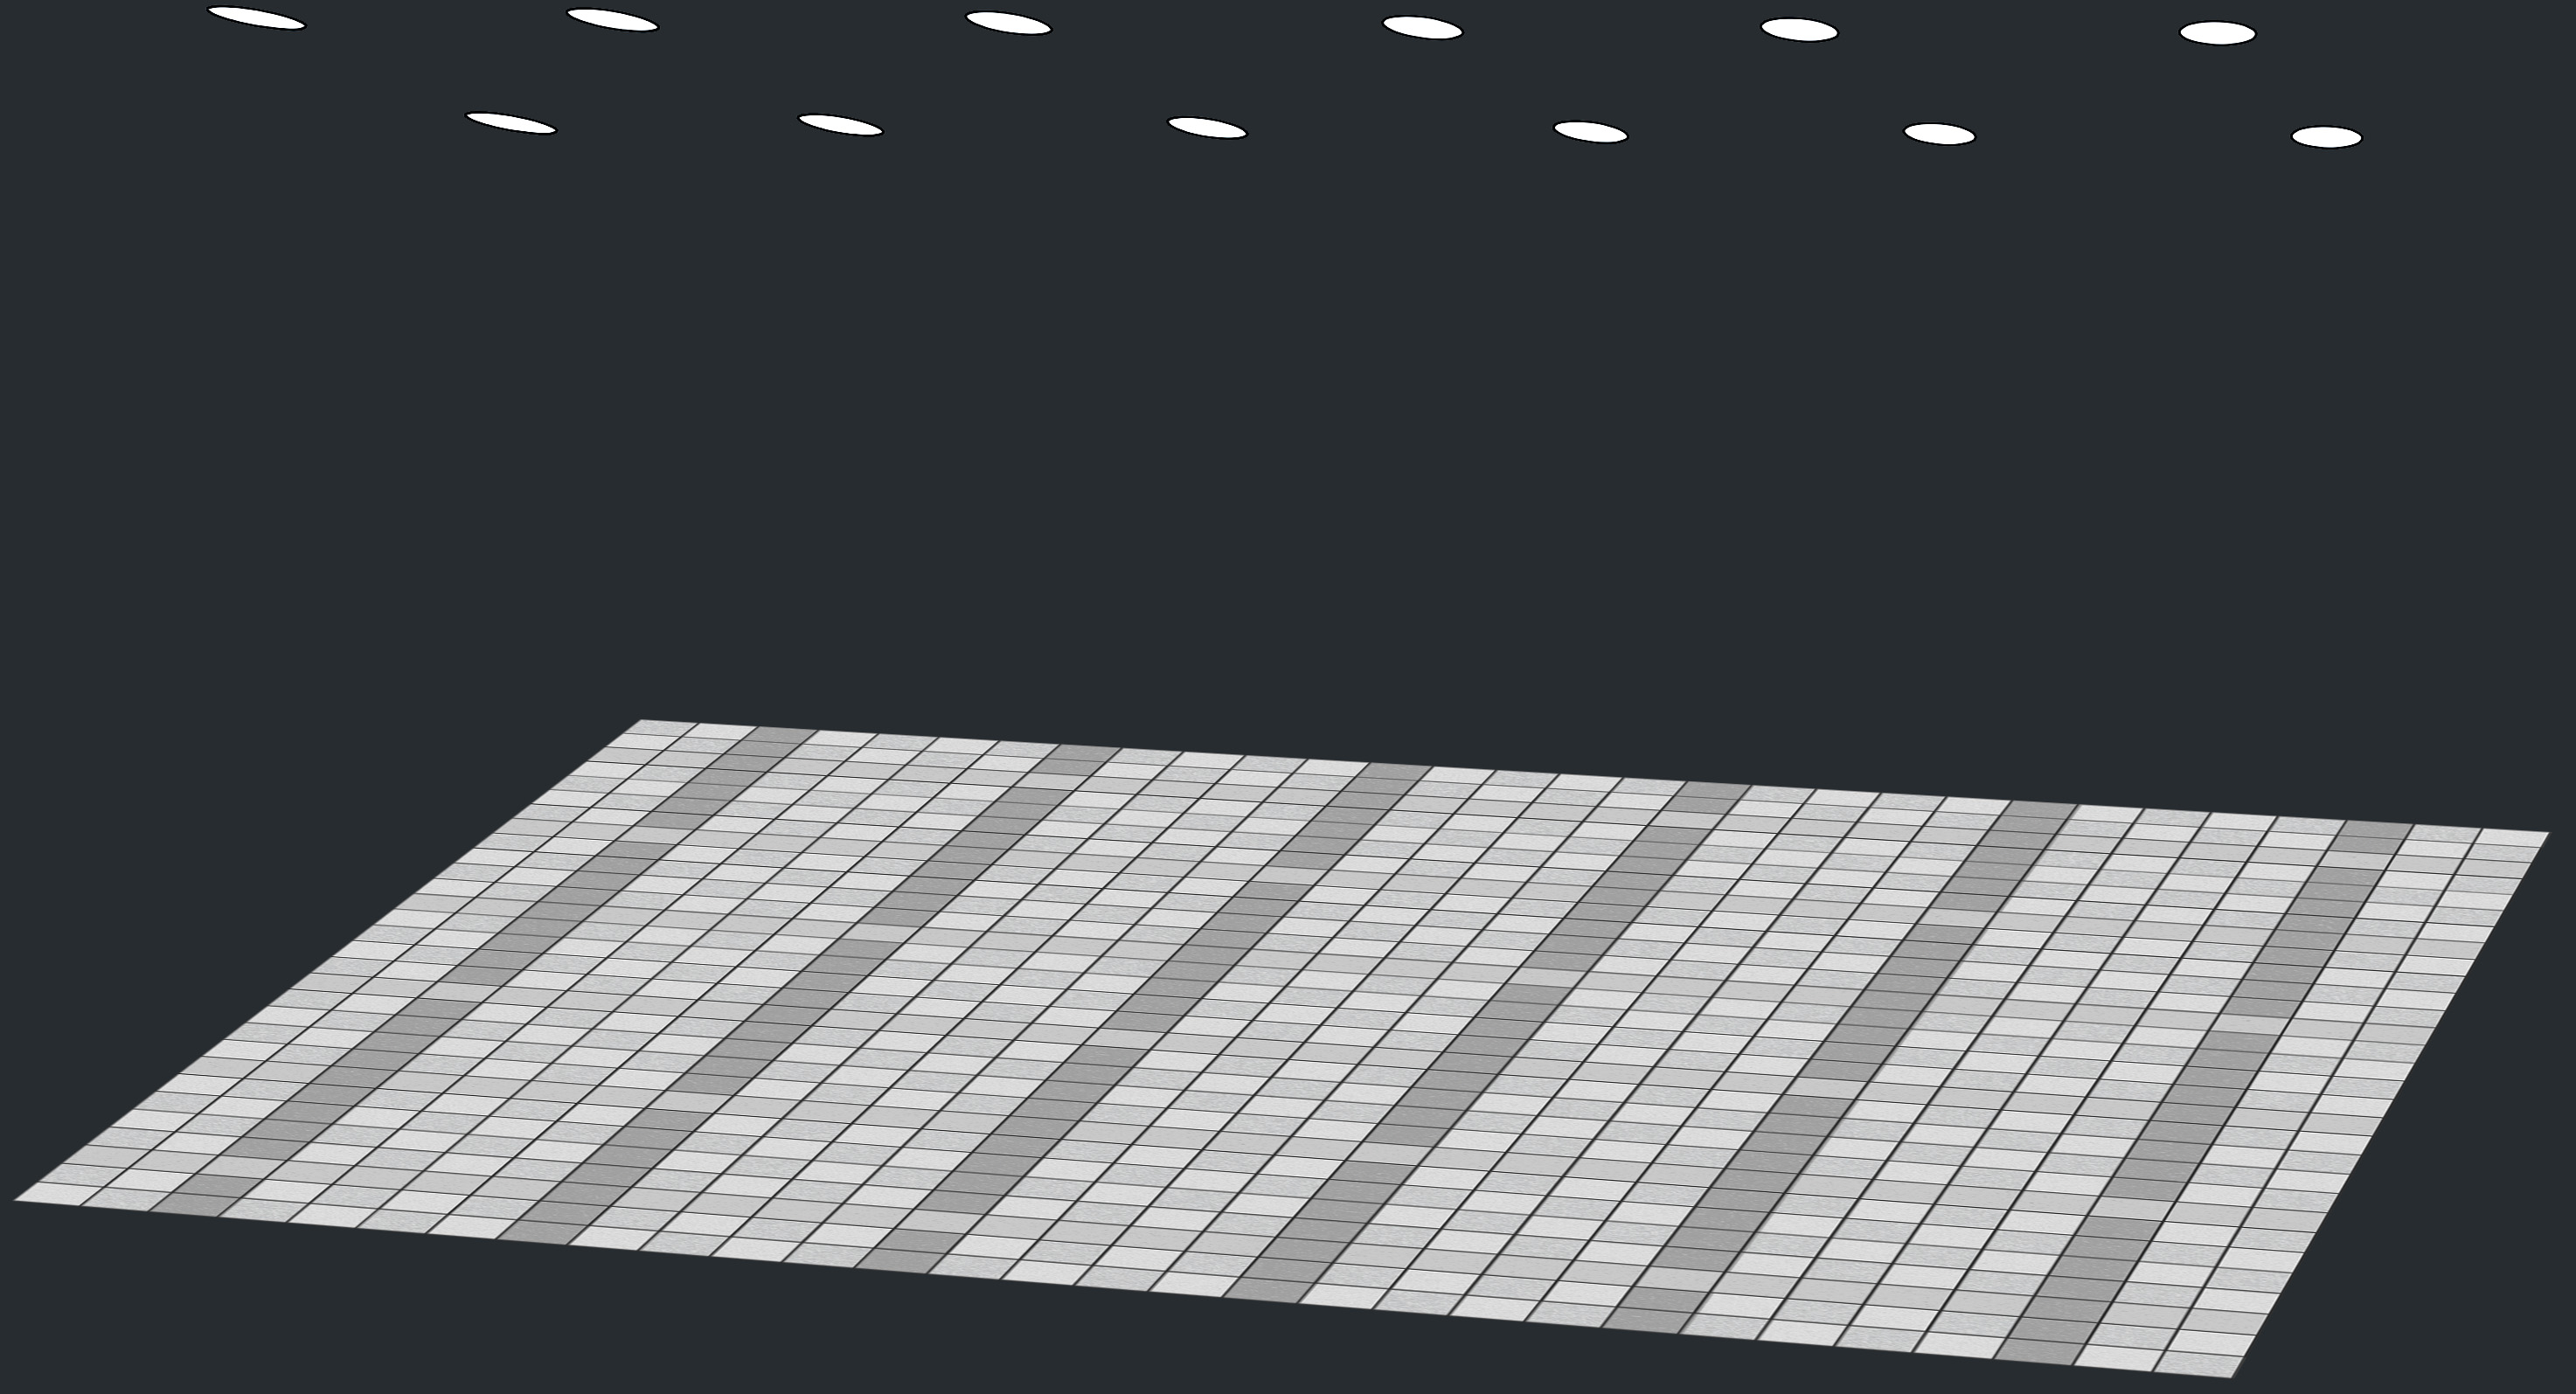
The space is 30' x 30', or 9m x 9m. Arrange your furniture and set pieces however you like.
As you create moments within the scene, furniture can be moved around, rearranged, added, or removed as a part of the sequence.
There are seven actors available for any moment. Click "Actors", top-right in this screen, and that palette will open.
You can edit each name. You can add or remove them from the stage.
When they are in the space, you can edit their height. Each actor begins as medium height, or "Med." Click where it says "Med" to toggle through the different sizes: XS, Sm, Med, Lg, and XL.
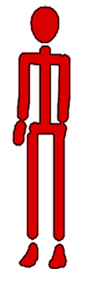
Actors are represented with three-dimensional stick figures. By default, they are drawn with red marker. You can change the color of any actor by clicking on their color in the palette.
Actors can be positioned anywhere on the stage by dragging them with the mouse.
Each stick-figure has its own menu. Double-click or right-click the figure to open it.
 Rotation: Each actor can be rotated in place, just like most props.
 Physical pose: Each actor can stand, sit down, sit lotus-style, recline, or lie flat. These poses are available in an extra pop-up menu.
 Elevation: Each actor can be boosted up and down above the floor. When they are isolated, it might look like they are levitating. Use this to place them in any pose on top of a set prop.
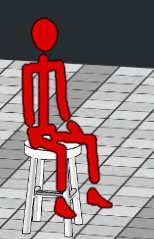 Sitting on things: This works just like you would expect it to, but sometimes you might need to boost the actor's elevation one or two notches. For some of the props, this makes it much easier to get the actor properly onto the furniture piece.
Bottom-left on this screen, below the stage, you will see "Update," "Capture Moment," and playback controls.
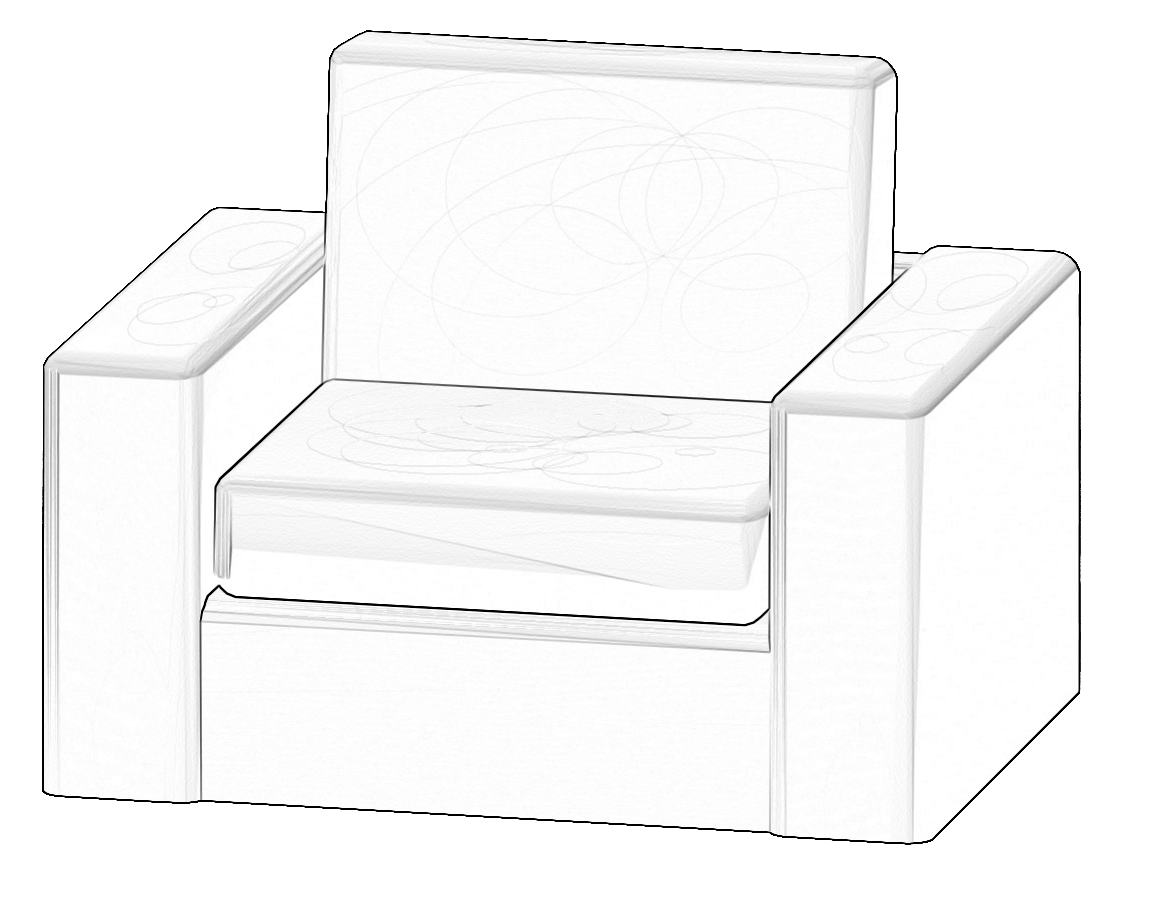
Capture Moment![]() records the current moment you have in place on stage. It records the positions of all set props and actors. It creates a new recorded moment in the sequence, and it renders a picture of the moment (called a panel) for the storyboard.
records the current moment you have in place on stage. It records the positions of all set props and actors. It creates a new recorded moment in the sequence, and it renders a picture of the moment (called a panel) for the storyboard.
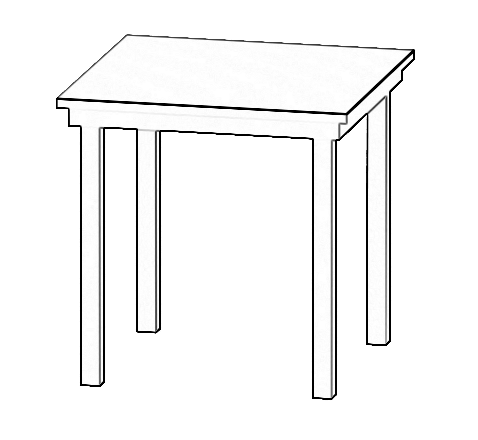
Update![]() re-records the current moment. It writes over existing information.
re-records the current moment. It writes over existing information.
Playback![]() Once you have recorded some moments, you can easily step through them in order using the playback controls. These are in the very bottom-left of this screen.
Once you have recorded some moments, you can easily step through them in order using the playback controls. These are in the very bottom-left of this screen.
The Storyboard lets you scroll through all of the moments you have recorded. Every time you capture or update a moment, it renders a picture of the stage. These are saved as panels
These panels can be copied, saved, or embedded into other resources, such as PowerPoint or Word.
You can change the order of panels by moving them up or down in the storyboard. You can jump to specific points in the storyboard. You can also insert a new panel in between two exisiting ones. Just hover over the "insert" icon between any two images:
![]() Any panel can be deleted. Just click the trashcan icon on that moment.
Any panel can be deleted. Just click the trashcan icon on that moment.
Saving a Project If you have captured at least one moment, you can save your project. Just open the Save/Load palette with the icon on the lower-right in this screen.
Click "Save," and then click "OK." The work is saved onlin. A unique code is displayed that will allow you to access the project later on and edit it. Every time you save or update, the same code will be used.
Images are not save - just the position of everything on stage. Everything will be in its proper position and form on stage. You can restore any panel in the Storyboard by navigating to it and then using the "Update" function.
If you prefer, you can download the file and edit it later using that file. You can use this feature to make backup copies if you like.
Loading a Project To load a project that is saved online, just enter that same eight-character code in and then click "Proceed." Your project will be loaded, ready to edit. You can also upload the file from your own device if you prefer. Director Lab files all have this extension: .qdat
As stated above, images will not be loaded with the blocking and set prop positions. All of your captured moments will be intact, but if you need the images, navigate to the correct moment in the sequence, and then click "Update."
0 Panels


Edit this note and put it
where you want it to be.
It will stretch to fit
whatever you type.
Edit this note and put it
where you want it to be.
It will stretch to fit
whatever you type.
Edit this note and put it
where you want it to be.
It will stretch to fit
whatever you type.
Edit this note and put it
where you want it to be.
It will stretch to fit
whatever you type.
Edit this note and put it
where you want it to be.
It will stretch to fit
whatever you type.